Chipping (low approach shot to the green)
The shortest shots, such as chips, are the most important in golf. Depending on your skill level, putting, chipping, and pitching—the three basic short game techniques—account for 50 to 70% of your score! This means that if you are new to golf, you can easily improve your score by 20% with these three techniques. In other words, a round of 125 shots becomes a round of 100 shots!
By successfully executing your chips, you will get short putts that are easy to sink on the next shot. You may not even have to putt at all if your chip ends up in the hole. Fortunately, the short game does not require exceptional power or flexibility. Anyone can excel at the short game. The best professional golfers devote up to 80% of their practice time to the short game. Why not you? What’s more, if you excel at the short game, you will inevitably become better at the long game. This is because the skills you acquire in the short game will carry over to your long game.
What exactly is a chip?
A chip shot, or low approach shot on the green, is a weak shot played from the edge of the green. The ball flies through the air for a short distance and then rolls like a putt on the green. This allows the ball to fly over uneven terrain and tall grass around the greens.
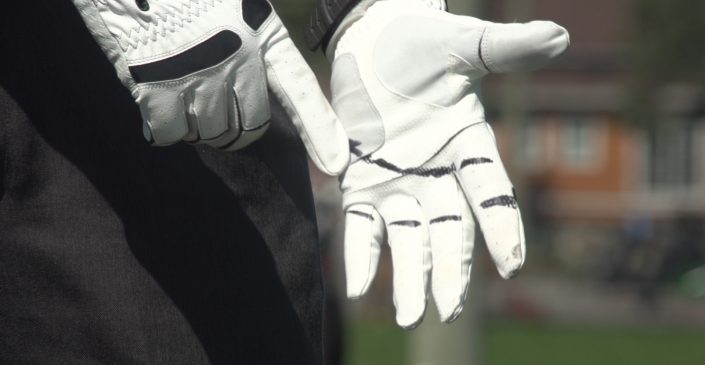
Cocking the wrists
The Foundation before technique
Before trying to fix a movement, many golfers benefit from clarifying what belongs to the mind, the body, and the motion itself.
That is exactly the role of The Socle – The Golfer’s mental and physical Foundation.
A necessary first step, calmly established, to put things back in the right order before any technical work.
[pms-restrict subscription_plans=”4862″]
In the chipping L to I, the wrists are said to be ‘cocked’ during the backswing to form the L. The first letter therefore indicates the position at the top of the backswing, while the second indicates the position at the end of the forward swing. For the chip I to I, both positions are identical, i.e., the lead forearm is in line with the shaft both at the top of the backswing and at the end of the forward swing.
In reality, to achieve a smooth swing, you still need to slightly cock your wrists during the backswing of an I to I chip. For the chipping L to I, the shaft forms a 90-degree angle with the lead arm at the top of the backswing.
Chipping I to I, Steve Stricker style
Chipping L to I the Phil Mickelson Way
Beware of sco0ping when chipping: be sure to correct this technical error!
Letting your wrist flex at impact means letting it bend in extension, but not to the point of lifting the ball. Lifting the ball is a common technical error among beginners. This mistake is called “scooping the ball” in Quebec, but “picking the ball” in France. I explain this cultural difference as follows: We Quebecers spend more time shoveling snow than picking flowers, especially in March!
Wrist action for chips
The wrists are not very effective for chips close to the green (I to I). However, they are more effective for chipping L to I in order to lengthen the air portion of the trajectory.
Ball landing spot
Unless the terrain dictates a different landing spot, land the ball on the green about 5 feet (1.5 meters) beyond the fringe. The ball should be able to roll to the hole. To do this, choose the right club, bearing in mind that an 8-iron, for example, produces a lower trajectory than a 9-iron, but also more roll after the ball lands on the green. In addition, a low trajectory is always easier to control than a high trajectory in terms of consistency. In other words, you will find it easier to chip successfully with an 8-iron than with a 9-iron or a wedge.
Pre-established routine
Establish a good routine and stick to it for good. This is one of the great secrets to success in golf: repeating the same movements over and over again in the same order.
Distance of chips
The secret to good power lies in gently stretching the front of your back at address (the left side of your back for right-handed players). You can change the distance of your chips by changing clubs. At address, focus your attention on the flight distance of the ball. This distance, which precedes the roll on the green, should be as short as possible.
For the various clubs to be used for a standard chip without spin or cocking of the wrists, the air/ground distances are as follows:
- Sand wedge: 60%/40%,
- Pitching wedge: 50%/50%,
- 9 iron: 40%/60%,
- 8-iron: 30%/70%,
- 7-iron: 20%/80%.
The first number above corresponds to the distance in the air and the second to the roll of the ball on the green, as a percentage of the total distance.
Other factors to consider when controlling distance
Obviously, the above percentages will vary depending on the condition of the greens. The receptivity and hardness of greens fluctuate depending on their moisture content and therefore on factors such as hours of sunshine, amount of rain, and time of year. In short, spend some time on the practice greens before playing your round of golf to assess their speed and adjust your short game accordingly.
There is only one reason why pros only use sand wedges around the greens: sand wedges are the best clubs for getting through the tall grass around the greens.
You can also reduce the distance of your chips for a given club by lowering your grip on the handle. This is a very simple way to produce chips without complicating your life!
Guessing the distance of your chips Drill
Without watching your ball fly away (keep your eyes fixed on where it was on the ground), guess whether the ball reached the target or froze before or beyond it. This drill allows you to improve your feel using touch (on the club handle) and hearing (through the sound of the ball).
This drill will help you eliminate the main cause of topping: the curiosity that makes you look up. Instead, learn to wait a moment before looking at the result by turning your neck, but without lifting your head. In other words, stay flexed in the final position as in your setup, but turn your neck to see what the ball is doing. At first, it will seem strange to look at the horizon from the side, with your trail eye lower than your lead eye. Remember that you are a golfer, not a spectator!
The bumblebee Drill
Like Jack Nicklaus, execute chips while murmuring the sound of a bumblebee with your mouth closed (humm…). The murmur should neither stop nor fluctuate in intensity, indicating that the swing is fluid and relaxed. Think about the motion you would use to swat a butterfly (ssswishhh!), not the motion you would use to swat a mosquito (smack!).
The Flamingo Drill
Perform trail foot chips on the tips of your toes so that almost all your weight is on your lead foot, making sure to maintain your balance at all times. Before starting your swing, open your hips toward the target as if in the impact position and bring your trail knee to your lead knee. However, do not restrict the shoulder turn. This drill allows you to learn the impact position while improving your balance. Combine the two drills above for greater effectiveness.
[/pms-restrict]